Of all the rooms in a house, the bathroom is where waterproofing matters most, and where mistakes cost the most to fix. Water is present every single day, and the waterproofing sits hidden underneath the tiles. If it is done badly, the only way to put it right later is to break out the tiles and start again. That is why the golden rule is simple: get the waterproofing right before the tiling goes on.
This guide walks through how to waterproof a bathroom or wet area properly, in the correct sequence, using products we stock from Dr. Fixit and Sika. For how this fits with the rest of your building, see our complete waterproofing guide for Panchkula.
Why bathrooms need special attention
A bathroom is a small room that takes a lot of water, from several directions, all the time. A few things make it uniquely leak-prone:
- Constant wetting. Floors and lower walls are soaked daily, so any weakness is found quickly.
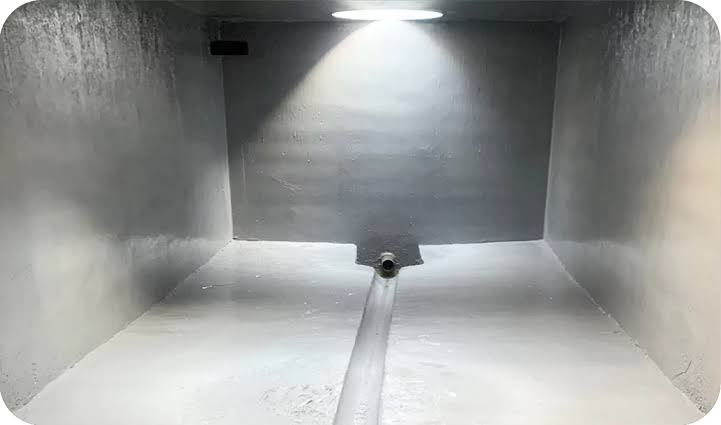
- The sunken slab. Most Indian bathrooms have a sunken floor portion that houses the drainage. Water collects here, so it must be fully sealed.
- Pipe penetrations. Every inlet and outlet pipe is a potential leak path where it passes through the floor or wall.
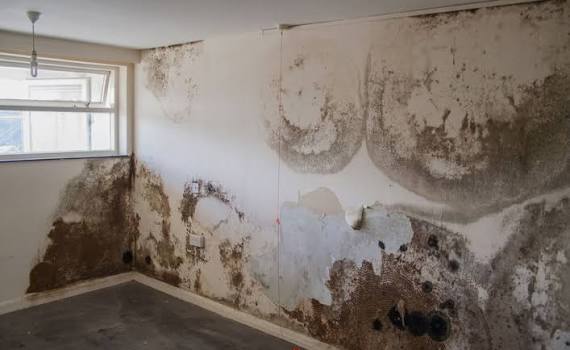
- Hidden failure. Because everything is under tiles, a slow leak can spread and damage the room below long before you see it.
Good bathroom waterproofing deals with all of these before a single tile is laid.
Get the sequence right: plumbing first
This is the step people most often get wrong. All plumbing and sanitation work must be finished before waterproofing begins. Every pipe insert and fitting should be in place and properly grouted first, using products like Dr. Fixit Bathseal Tape and Bathseal Grout around the junctions. Only once the plumbing is complete and tested should the waterproof coating go on. Waterproof first and cut pipes in later, and you have already broken the membrane you just paid for.
Products for bathroom waterproofing
- Dr. Fixit Pidifin 2K: the workhorse for wet areas. A two-component, acrylic cementitious, polymer-modified flexible coating that forms a seamless waterproof barrier you can tile directly over. It conforms to potable water contact parameters and handles the daily wetting of a bathroom well.
- Dr. Fixit Fastflex and Fastflex Ultra: flexible coatings also suited to bathrooms and wet areas, with the Ultra version formulated for faster application where time is tight.
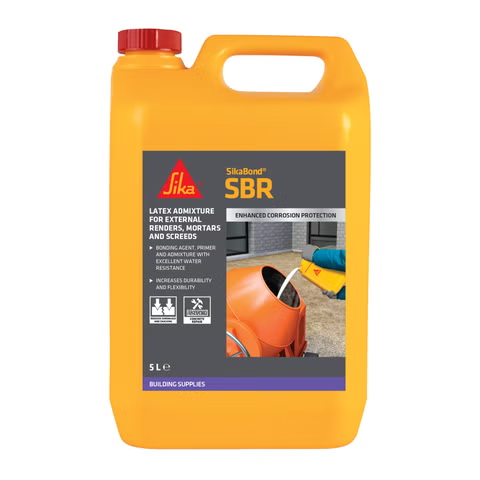
- Dr. Fixit Pidicrete URP: an SBR latex bonding agent used to make junction fillets and bond coats, and to help waterproof the sunken portions of toilets and bathrooms.
- Dr. Fixit Bathseal Tape and Bathseal Grout: for sealing around pipe inserts and junctions.
- Dr. Fixit Pidiproof LW+: the integral admixture for the internal wall plaster, adding water resistance from within.
- Sika SikaTop 107 Seal Plus: a two-component cementitious waterproofing coating suitable for bathrooms, walls and tanks, if you prefer the Sika system.
We stock these Dr. Fixit and Sika construction chemicals and can put together everything you need for a bathroom in one go.
How to waterproof a bathroom before tiling step by step
Here is the correct order. The detailing at junctions matters as much as the coating on the flat areas.
1. Finish all plumbing and sanitation
Complete and test every pipe and fitting. Grout pipe inserts and seal them with Bathseal Tape and Grout. Do not start waterproofing until this is done.
2. Prepare the surface
The substrate must be structurally sound and clean, free of dust, oil and loose material. Bring it to a saturated surface dry condition, meaning damp but with no standing water. Pre-wet the surface and let it come to a touch-dry state before coating.
3. Treat the junctions and pipe penetrations
Form a rounded fillet at the wall-to-floor junctions and around drains, using a mix based on Pidicrete URP, so water cannot sit in a sharp corner. Seal around all pipe penetrations. This is where most bathroom leaks begin.
4. Coat the sunken portion and walls
Apply the waterproof coating over the whole sunken slab portion and up the walls to cover the splash zone. In shower areas this typically means taking the coating up the wall to a height of around six to seven feet.
5. Apply two coats and key for tiling
Apply two coats of Dr. Fixit Pidifin 2K, working the first coat well into the surface. While the second coat is still wet, sprinkle coarse quartz sand over it. This gives a key for the tile adhesive to grip later.
6. Cure the coating
Let the coating air cure, which typically takes around three to five days. If the area gets direct sunlight, keep it covered with moist hessian cloth so it cures well. Do not rush this stage.
7. Do a ponding test
Before tiling, fill the floor with water and leave it for a day or two, then check the room below for any leakage. Only tile once it passes.
8. Tile with the right adhesive
Lay the tiles using a proper tile adhesive over the keyed, cured surface. The waterproofing sits safely underneath, protecting the structure for years.
The sunken slab deserves extra care
The sunken portion is the heart of a bathroom’s waterproofing, because it collects the water that drains from the floor. Make sure it is fully coated, that the junctions around it are filleted and sealed, and that it passes the ponding test before it is filled and screeded. Getting the sunken area right is the single biggest factor in a leak-free bathroom.
Common mistakes to avoid
- Waterproofing before the plumbing is finished. Any pipe cut in later breaks the membrane.
- Ignoring the junctions. Most leaks start at wall-floor corners and around pipes, not in the open floor.
- Coating the floor but not the walls. The splash zone in showers needs coating up the wall, not just at the base.
- Rushing the curing. Tiling over a coating that has not cured undermines the whole job.
- Skipping the ponding test. Test before tiling, because testing after means breaking tiles to fix a leak.
Bathroom waterproofing materials in Panchkula
Planning a new bathroom or redoing a leaking one? Tell us the size and we will put together the right Dr. Fixit or Sika waterproofing products for the job, and talk you through the sequence. Khandelwal Trading Co. serves Panchkula, Chandigarh, Mohali and the wider Tricity.
- Visit: Shop No. 4, Street No. 2, Maheshpur, Sector 21, Budanpur, Panchkula, Haryana 134117
- Call: 94175 65977
- WhatsApp: message us here
- Trade enquiry: get a quote
Frequently asked questions
Do I really need to waterproof a bathroom before tiling?
Yes. The waterproofing layer sits under the tiles, so it has to go in first. If a bathroom starts leaking after tiling, the only reliable fix is to remove the tiles and redo the waterproofing, which is far more expensive than doing it right the first time.
How high up the wall should bathroom waterproofing go?
Cover the whole floor and sunken portion, and take the coating up the walls across the splash zone. In shower areas that usually means going up to around six to seven feet so the wetted wall is fully protected.
Which product is best for bathroom waterproofing?
Dr. Fixit Pidifin 2K is a popular choice because it forms a flexible barrier you can tile directly over. Pair it with junction detailing using Pidicrete URP and Bathseal products, and the internal plaster treated with Pidiproof LW+.
Can I tile directly over the waterproof coating?
Yes, once it has cured. Sprinkling coarse sand onto the wet second coat gives the tile adhesive something to grip, so the tiles bond well over the cured, keyed surface.
How long before I can tile after waterproofing?
After the coating has cured, which typically takes around three to five days, and after it has passed a ponding test. Do not tile before both are done.