A damp wall is one of the most common complaints in Tricity homes, and one of the most misunderstood. People often reach for a tin of waterproof paint, slap it on, and find the damp back within months. The reason is simple: “damp” is not a single problem. Water can reach a wall in three different ways, and each one needs a different fix.
This guide explains how to tell the types of wall damp apart, and how to treat each one properly, inside and out, using products we stock from Dr. Fixit and Sika. For the bigger picture of protecting your building from water, see our complete waterproofing guide for Panchkula.
The three kinds of wall damp
Before you treat anything, work out what you are dealing with. Getting this wrong is why so many damp repairs fail.
Penetrating damp (from outside)
This is water pushing in through the outside face of the wall, usually driven by rain. It is worst on the weather-facing side and around cracks, and it tends to appear as patches that darken after heavy rain. The fix is on the outside.
Rising damp (from the ground up)
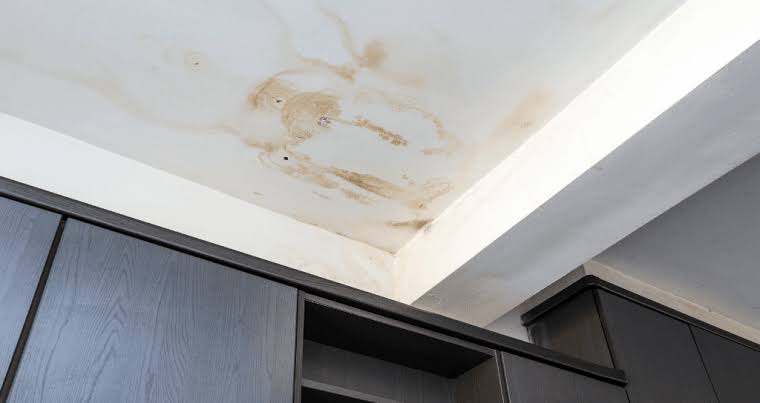
Here, moisture is drawn up from the ground into the base of the wall by capillary action. The clue is a damp band low down on the wall, often with a tide-mark line and white salt deposits (efflorescence). It does not come from above, so a coating on the upper wall will not stop it.
Condensation (from inside the room)
This is moisture in the indoor air settling on cooler wall surfaces, common in poorly ventilated bathrooms, kitchens and corners. It is not seepage at all, and no waterproofing product will fix it. The answer is ventilation.
Once you know which one you have, the right treatment becomes obvious.
Treating penetrating damp: the outside fix
If rain is driving in through the outer wall, seal the outside. The steps are straightforward:
- Clean the exterior wall and remove loose plaster, dirt, algae and old flaking paint.
- Fill and seal cracks. Fine cracks can be filled with a crack paste; wider ones may need a polymer-modified mortar.
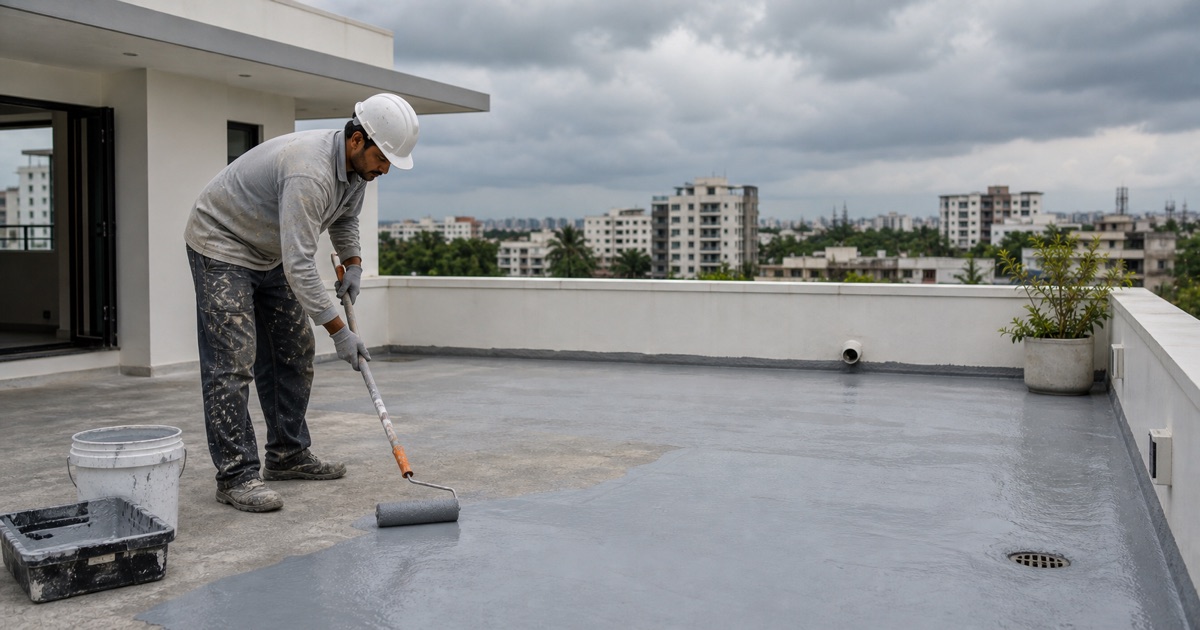
- Apply an exterior waterproof coating such as the Dr. Fixit Raincoat range, which forms a flexible, water-resistant film that bridges hairline cracks and resists UV and algae.
Done properly, this keeps rain out while still letting the wall breathe. There is a full step-by-step further down.
Treating rising damp: the base fix
Rising damp is the trickiest of the three, because the water is coming from below. Surface coatings on the visible damp patch will not solve it on their own. Effective treatment usually involves:
- Creating a barrier at the base of the wall, often through a chemical damp-proof course, which introduces a water-repellent layer that stops moisture climbing further.
- Fixing the external causes, such as soil or paving banked up against the wall, blocked drainage, or missing plinth protection, all of which feed water into the wall base.
- Re-plastering the affected area once the source is dealt with, since old plaster holds salts that keep attracting moisture.
Severe or widespread rising damp is worth a professional diagnosis before you spend money on treatment. Tell us what you are seeing and we will help you plan the right approach and materials.
Treating the damp internal wall surface
Whether the original cause was penetrating damp or mild rising damp, you often need to treat the internal wall face where the damage shows. Dr. Fixit Dampguard is made for exactly this.
Dampguard is a two-component, epoxy-based coating for internal walls, ceilings and RCC water tanks. Its key advantage is that it can be applied over damp concrete and plaster surfaces, and it forms a tough, water-resistant, anti-fungal barrier. It can also be mixed with white cement to make a putty for filling fine cracks before coating.
Remember that treating the inside surface manages the symptom. If water is still reaching the wall from outside or below, deal with that source as well, or the damp will return.
How to treat a damp exterior wall step by step
This is the most DIY-friendly job, for penetrating damp on an outside wall.
1. Prepare the surface
Clean the wall with a wire brush to remove loose material, dust, algae and old paint. Wash it down so cracks and voids are free of debris.
2. Fill the cracks
Fill fine cracks with a crack paste. Larger cracks, beyond about 5 mm, are better filled with a polymer-modified mortar. Let the repairs dry.
3. Apply the base coat
Apply a base coat or self-priming first coat of the exterior coating, following the product instructions on dilution and drying time.
4. Apply the top coat
Apply the top coat without dilution for full film thickness and crack-bridging. Two well-applied coats give far better protection than one heavy one.
5. Let it cure
Allow the coating to dry and cure as directed before the next spell of rain.
Wall dampness products we stock
- Dr. Fixit Dampguard: a two-component epoxy coating for internal walls, ceilings and water tanks; can be applied over damp surfaces and resists fungus.
- Dr. Fixit Raincoat range (including Classic, Neo, Select and WPC): elastomeric exterior wall waterproof coatings that bridge hairline cracks and resist UV and algae, available in a wide range of shades.
- Sika SikaTop 107 Seal Plus: a two-component cementitious waterproofing coating for concrete walls, tanks and roofs.
- Sika Monotop 108 Water Plug: a rapid-setting mortar for plugging active water leaks at a specific point.
We stock these Dr. Fixit and Sika construction chemicals. Tell us where the damp is and how bad it is, and we will help you choose.
Common mistakes to avoid
- Treating the wrong type of damp. An exterior coating will not stop rising damp, and no coating stops condensation. Diagnose first.
- Painting over damp without fixing the cause. Ordinary paint, or even a waterproof coating, over an active source just delays the problem.
- Ignoring the outside. Most penetrating damp is solved on the exterior, not by coating the inside face alone.
- Skipping ventilation for condensation. If the cause is humid indoor air, the fix is airflow, not chemicals.
- Not treating the salts in rising damp. Old salt-laden plaster keeps drawing moisture, so it often needs removing and redoing.
Fix damp walls with help from KTC in Panchkula
Not sure whether your damp is rising, penetrating or condensation? Send us a photo of the wall and where the damp appears, and we will help you identify it and pick the right Dr. Fixit or Sika product. Khandelwal Trading Co. serves Panchkula, Chandigarh, Mohali and the wider Tricity.
- Visit: Shop No. 4, Street No. 2, Maheshpur, Sector 21, Budanpur, Panchkula, Haryana 134117
- Call: 94175 65977
- WhatsApp: message us here
- Trade enquiry: get a quote
Frequently asked questions
How do I know if it is rising damp or penetrating damp?
Rising damp shows as a damp band low on the wall, often with a tide-mark and white salt deposits, and it stays roughly the same regardless of rain. Penetrating damp appears as patches, usually on the weather-facing side, and gets darker after heavy rain.
Can I fix a damp wall from the inside only?
Treating the inside surface with a coating like Dr. Fixit Dampguard manages the visible damage, but if water is still reaching the wall from outside or below you must fix that source too, or the damp comes back.
What is the best product for exterior wall waterproofing?
An elastomeric exterior coating such as the Dr. Fixit Raincoat range works well. It forms a flexible film that bridges hairline cracks and resists UV and algae. Surface preparation and crack filling matter just as much as the coating.
Why is there white powder on my wall?
That is efflorescence, salt left behind as water evaporates out of the masonry. It is a sign that moisture is moving through the wall, so it points to a damp source that needs treating, not just wiping off.
Will waterproof paint stop condensation?
No. Condensation is caused by humid indoor air meeting a cool surface, so the fix is better ventilation and airflow, not a waterproofing product.